I have to say, whilst I'd say I'm a competent cook and baker - I'm lacking somewhat in the artistic presentation stakes - not through want of trying, I just express my creativity differently. So I went for something simple that still looked piggy and relied on cookie cutters and a tiny bit of shaping of fondant - if I can do it, so too can most children! And whilst this is great party food it could also work as a fun baking activity with your children - perfect for a rainy day activity or cold and wintery afternoon distractions.
I used the classic cupcake or fairy cake recipe that I've used time and time again, from Mary Berry but doubled up and used half the mixture for making the Peppa Pig Rice Paper Cupcakes.
For the whites of the eyes, if you have a steady hand you could pipe on some buttercream, but I found using fondant icing slightly easier for my not-so-steady hands.
Once the cupcakes were cooled enough to take on the fondant here is how I made them into little piggies.
 |
| Pig Face Cupcakes |
Here's how:
1 batch Mary Berry basic cupcakes slightly cooled (Use the all-in-one method to combine: 175g each; slightly softened butter, self-raising flour, caster sugar, 3 large eggs, 1 tbsp vanilla extract, ½ tsp baking powder)
1 pack pink fondant icing (I used Renshaw's)
1 pack white fondant icing (Renshaw's)
1 black icing pen (could also use those sugar balls instead)
1 tablespoon icing sugar
Drop cold water
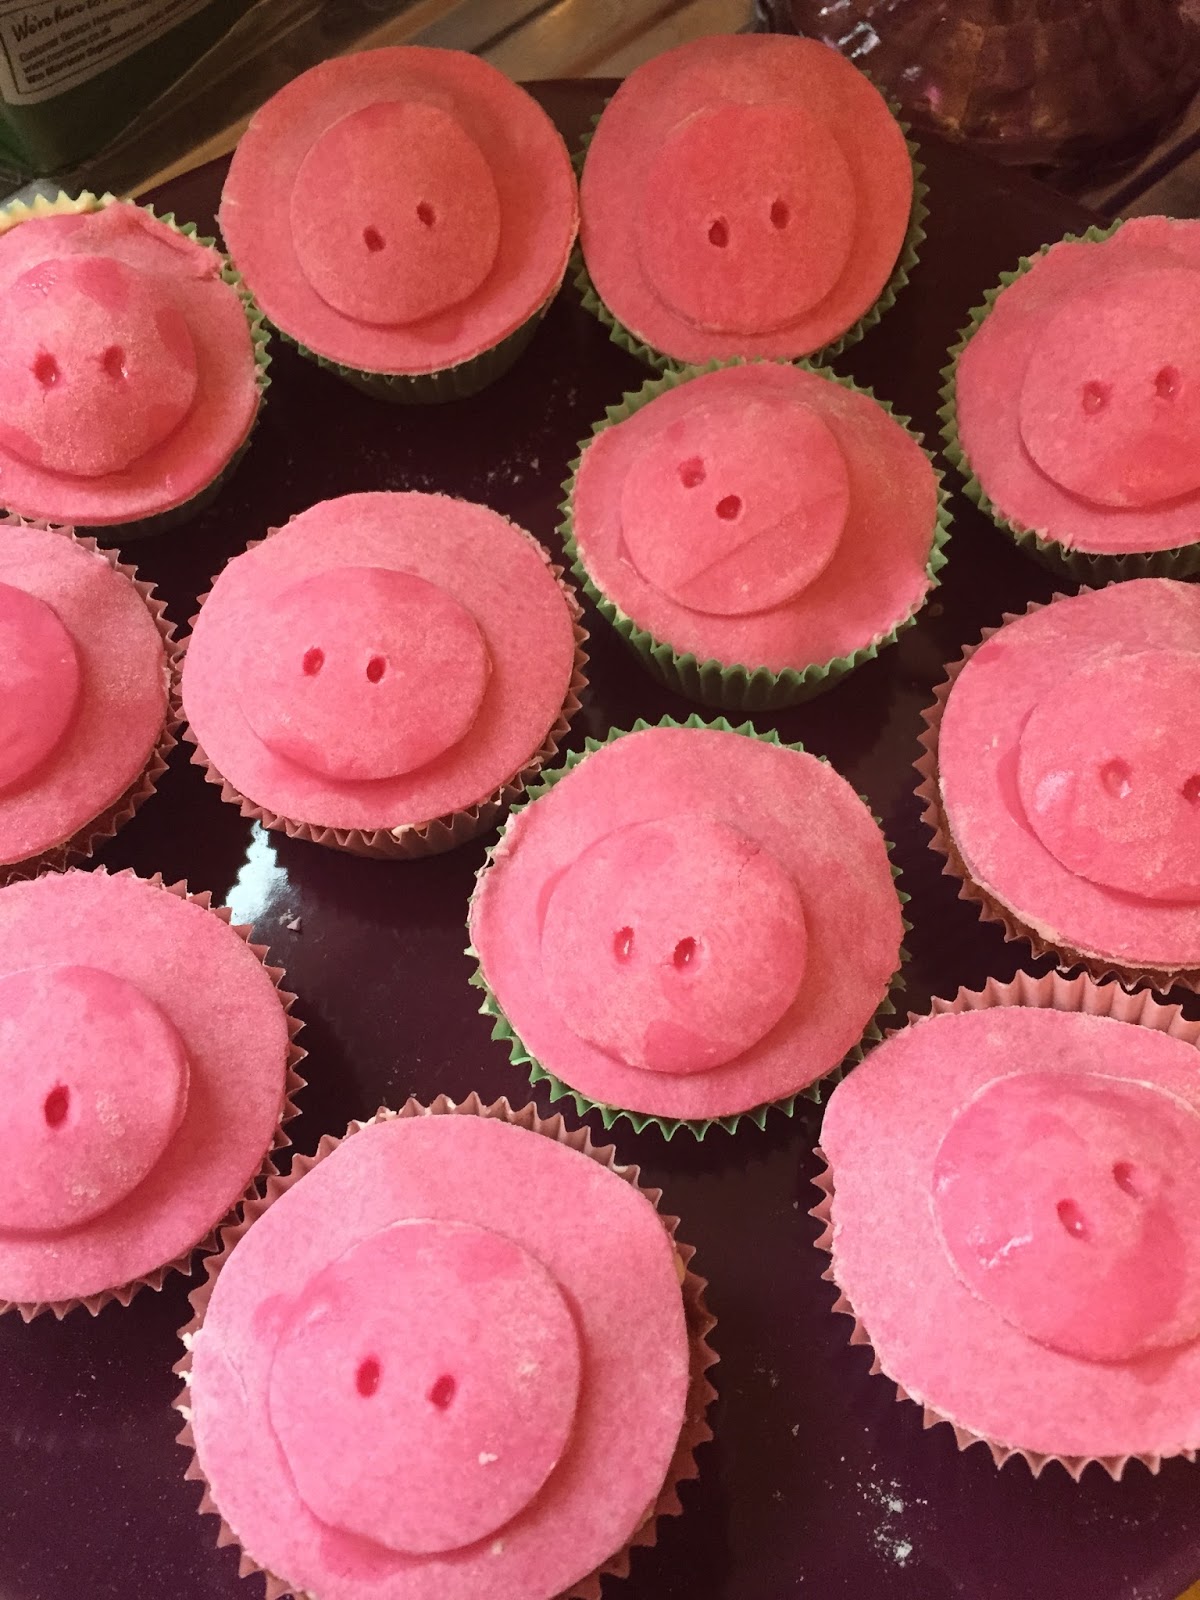
Firstly find a round cookie cutter that will be almost big enough to cover the entire top of each cake and set aside. Now find a smaller round cookie cutter for the nose and set this aside also.
Now make sure you use a completely clean and dry worktop space to very lightly flour, then flour a rolling pin and roll out the pink fondant icing until it is about 1/2cm thick.
Cut out the number of toppings you require for your cupcakes (I did 18).Combine the icing sugar and water in a small cup and mix well. Use a pastry brush to top each cake with a little icing then secure a topping on each cake.
 |
| Pig face cupcakes |
Now make the noses using the smaller cutter. Using a sharp skewer make two nose holes in each, you can go all the way through.
 |
| Pig face cupcakes |
Now place a little icing onto the back of each nose then gently tap it down into the centre of each pig's face.
Now using a tiny ball of pink icing for each pig, roll out a little pair of ears for each and set aside for the minute.
Now get the white fondant icing and cut off a quarter of it - that will be sufficient. Roll this out and then create 18 pairs of small, white balls for eyes, then flatten them onto each pig's face, securing with a tiny bit of icing and hold down. You won’t require all of the icing – secure the rest in a sealable bag and this will keep for a while in the cupboard.
Now use the same method to secure the ears on top of each pig's face.
Finally, use the black icing pen to drop a tiny dot or 'pupil' onto each eye.
If kept in a sealed container these can keep for a couple of days - perfect if you've got a lot of party preparation to get on with. Enjoy!
 |
| The piggy corner |
No comments:
Post a Comment